![]()
在 Linux 驱动的主机上创建邮件服务器可能是每个系统管理员在首次配置服务器时需要执行的最重要的任务之一,在本文中,我们将学习如何通过安装 Roundcube 网络邮件客户端实现邮件服务器邮件的收发管理。
1] 系统要求
作为网页邮件客户端,Roundcube 当然需要与之配合的邮件服务器软件。邮件服务器可以简单也可以复杂,但是基本的 MTA 和 MDA 软件都需要安装,否则也不能实现邮件的收发功能。常用的 MTA 有 sendmail 和 Postfix,而 MDA 则推荐使用 Dovecot。至于详细的配置步骤,可以参考本站的教程 >>CentOS 8 系统搭建 Postfix+Dovecot 邮件服务器<<
其次,Roundcube 是 PHP 语言开发的网页应用,当然需要 PHP 运行环境。所以搭建一个 LEMP 或 LAMP 框架也是 Roundcube 的需求之一。Linux 发行版根据自己喜好自行选择熟悉的发行版;数据库使用 MySQL 或 Mariadb 均可,哪种安装方便选择哪种;Web 服务器使用 Apache 或 Nginx 也都可以,选择用着最顺手的;至于 PHP,官方要求版本高于 7.3 而且低于 8.1,并且安装了 PCRE、DOM、JSON、Mbstring、OpenSSL、Session、Socket、Intl、Ctype、Filter、Iconv、FileInfo 扩展。本站同样有关于搭建 LEMP 框架的教程供参考 >>CentOS系统配置LEMP环境和安装CMS系统<<
服务器可以正常收发邮件,并且 LEMP 框架也已经搭建成功,即可进行 Roundcube 的部署了。
2] Roundcube 安装部署
示例使用 LEMP 框架,CentOS 7发行版,Mariadb 数据库管理系统,PHP 使用 7.4。
首先下载 Roundcube 程序文件,并将其解压至 nginx 的网页目录”/webroot/”:
# wget https://github.com/roundcube/roundcubemail/releases/download/1.6.6/roundcubemail-1.6.6-complete.tar.gz
# tar -C /wwwroot/ -xzf roundcubemail-1.6.6-complete.tar.gz
# mv /wwwroot/roundcubemail-1.6.6 /wwwroot/roundcubemail
修改 nginx 的配置文件中关于 php 的配置块,使其可以访问该 PHP 应用(php-fpm 侦听9000端口):
location ~ \.php$ {
    root /wwwroot/roundcubemail;
    fastcgi_pass 127.0.0.1:9000;
    fastcgi_index index.php;
    fastcgi_param SCRIPT_FILENAME $document_root$fastcgi_script_name;
    include fastcgi_params;
}
修改完成后,即可打开浏览器,访问”http://mail_server_ip/installer”,如果一切工作正常,即可见到如下页面:

图.1 安装 roundcubemail 依赖检查
如图所示,roundcube 在安装之前会进行配置检查,所有必须项都显示”OK”时,则可以点击”NEXT”按钮进行下一步配置。
如果有些依赖未”OK”,则根据提示安装相应插件并进行相关配置,直到全部必须项都”OK”。
登录 Mariadb 数据库,使用如下语句创建 roundcube 所使用的数据库及用户:
# mysql -u root -p
MariaDB [(none)]> CREATE DATABASE roundcube DEFAULT CHARACTER SET utf8 COLLATE utf8_general_ci;
MariaDB [(none)]> CREATE USER roundcube@localhost IDENTIFIED BY 'roundcube';
MariaDB [(none)]> GRANT ALL PRIVILEGES ON roundcube.* TO roundcube@localhost;
MariaDB [(none)]> flush privileges;
MariaDB [(none)]> quit;
以上语句创建了数据库”roundcube”和对其具有全部权限的用户”roundcube”,该用户的密码为”roundcube”,示例为了方便起见,实际部署时根据要求设置用户名密码等关键信息。
数据库创建完成后,使用如下命令初始化 roundcube 数据库:
# mysql -u root -p roundcube < /wwwroot/roundcubemail/SQL/mysql.initial.sql
如果导入过程中出现如下报错:
ERROR 1071 (42000) at line 51: Specified key was too long; max key length is 767 bytes
这是由于存储引擎的限制,索引超长报错。
登录数据库,使用如下语句设置数据库运行参数,即可解除该限制:
MariaDB [(none)]> set global innodb_file_format = BARRACUDA;
MariaDB [(none)]> set global innodb_large_prefix = ON;
MariaDB [(none)]> set global innodb_file_per_table = ON;
清空 roundcube 数据库后,再重新导入初始化脚本,即完成了 roundcube 数据库的初始化。
在 roundcube 的安装页面,点击”NEXT”按钮即可进行进一步配置。
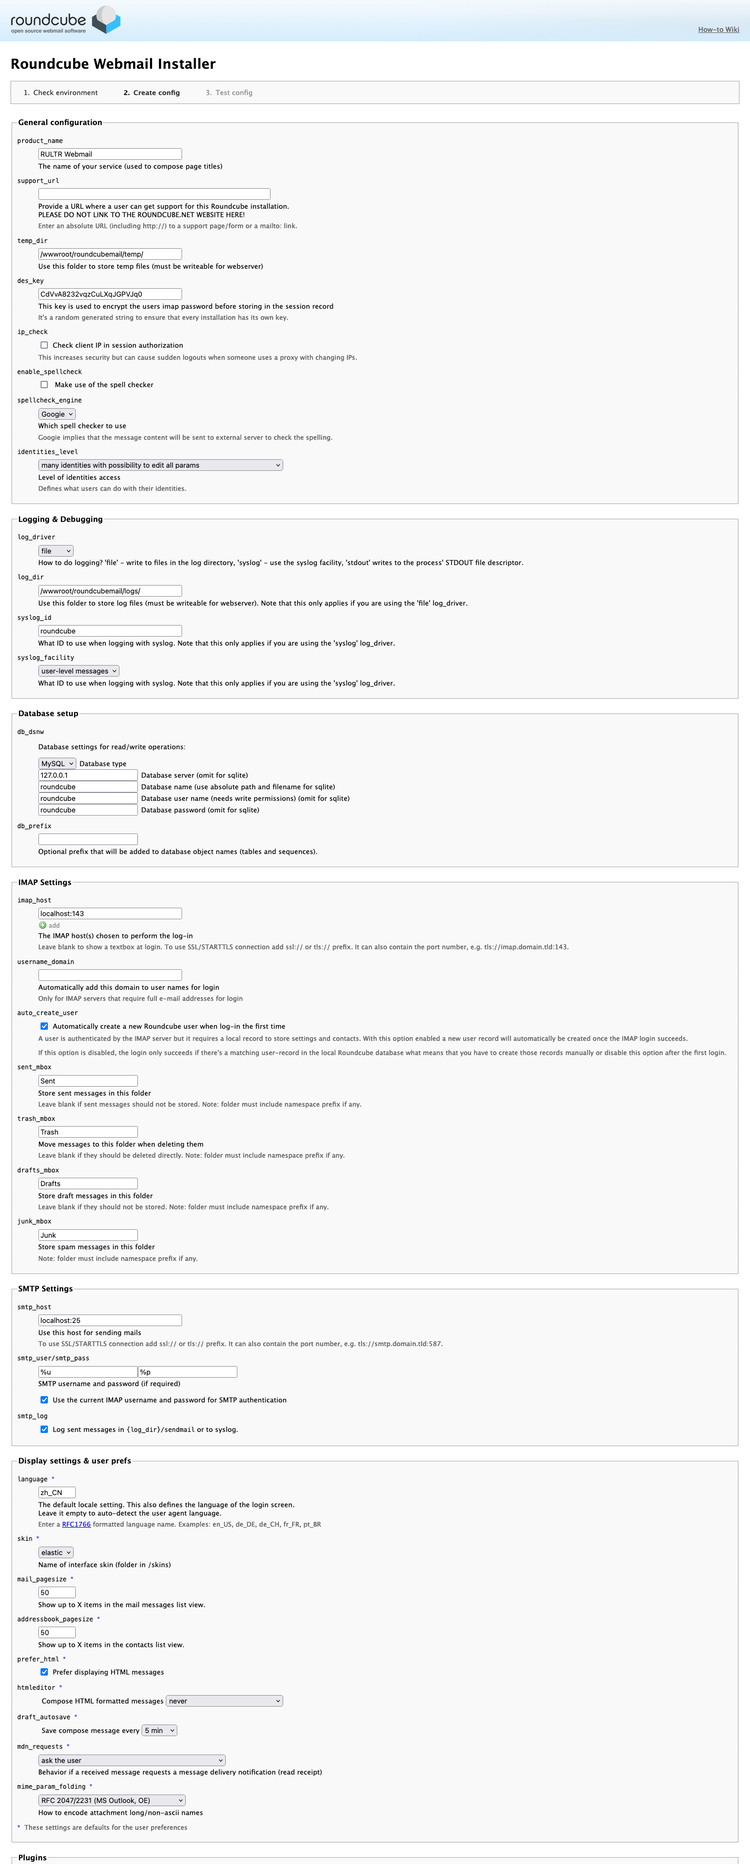
图.2 roundcube 生成配置文件
虽然页面配置内容较多,但是多数配置会自动生成,也不需要过多修改。只需要注意数据库名、用户名密码与设置一致;如果 MTA 只侦中了25 端口,则在”SMTP Settings”配置中将”smtp_host”设置成为”localhost:25″;如果想要显示中文,则在”Display settings & user prefs”的配置中将”language”设置成为”zh_CN”;至于插件项,则根据需要点选安装,如无特殊要求,建议不启用插件。
全部配置完成后,则点击页面最底端的”CREATE CONFIG”按钮生成最终的配置:
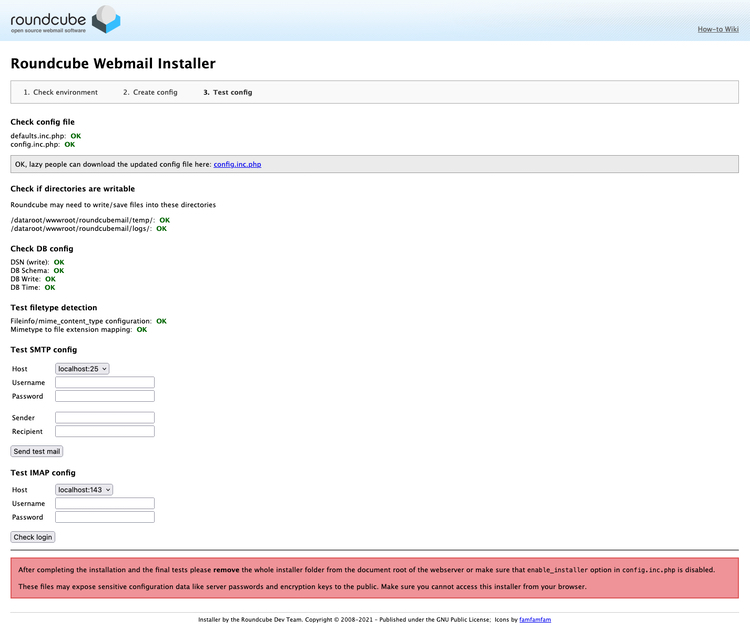
图.3 roundcube 配置测试
最终,生成了配置文件,则表示 roundcube 可以正常工作了。可以在测试页面输入用户账户和密码进行邮件收发测试。全部通过后,则依照页面的提示将”/wwwroot/roundcubemail/installer”目录删除,并确认”config.inc.php”文件中的”enable_installer”配置项为”disabled”。
再次使用浏览器访问”http://mail_server_ip/”,就会见到如下登录界面:
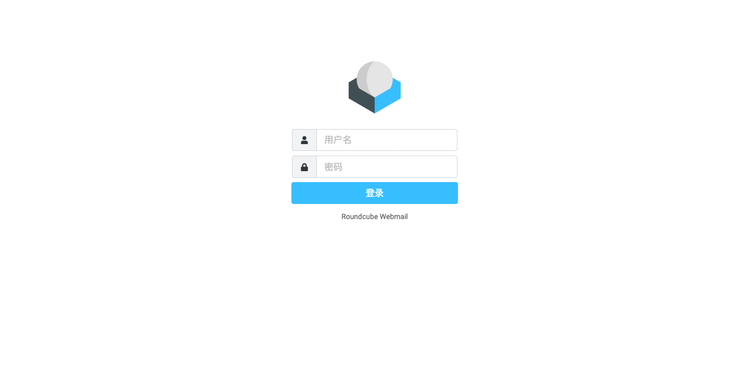
图.4 roundcube 登录页面
登录系统的用户名即是该服务器包含的用户名,登录密码是该用户登录系统的密码。
登录成功后,会进入邮件管理界面:
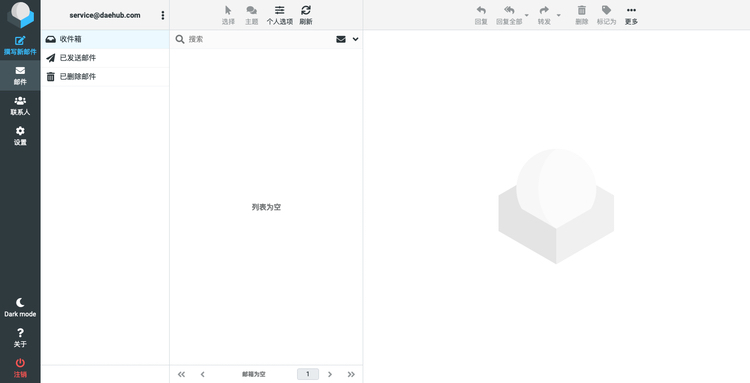
图.5 roundcube 用户邮件管理界面
可以看到,登录成功后,就可以方便的使用网页来管理服务器上的用户邮件了。
至此,一个属于个人的网页邮件客户端就搭建成功了。
3] 优化方案
正式使用时,显然不能采用明文的 http 方式,建议申请证书部署 https。由 nginx 来跑 https 协议。
同样的,如果邮件服器可以正常收发邮件,那么域名、证书想必都是已经具备了的。那么还可以由 Naiveproxy/Caddy 来跑 https,反向代理本地的 nginx 网页,从而实现既可以加密使用 roundcube 邮件客户端,又可以正向代理科学上网。
nginx 的配置为:
server {
    listen       127.0.0.1:8080;
    server_name  localhost;

    #charset koi8-r;
    #access_log  /var/log/nginx/host.access.log  main;

    location / {
        root   /wwwroot/roundcubemail;
        index  index.php index.html index.htm;
    }

    #error_page  404              /404.html;

    # redirect server error pages to the static page /50x.html
    #
    error_page   500 502 503 504  /50x.html;
    location = /50x.html {
        root   /wwwroot/html;
    }

    # proxy the PHP scripts to Apache listening on 127.0.0.1:80
    #
    #location ~ \.php$ {
    #    proxy_pass   http://127.0.0.1;
    #}

    # pass the PHP scripts to FastCGI server listening on 127.0.0.1:9000
    #
    location ~ \.php$ {
        root           /wwwroot/roundcubemail;
        fastcgi_pass   127.0.0.1:9000;
        fastcgi_index  index.php;
        fastcgi_param  SCRIPT_FILENAME  /wwwroot/roundcubemail$fastcgi_script_name;
        include        fastcgi_params;
    }

    # deny access to .htaccess files, if Apache's document root
    # concurs with nginx's one
    #
    # location / {
    #     deny  all;
    # }
}

server {
     listen      80;
     server_name mail.rultr.com;
     return    301 https://mail.rultr.com$request_uri;
}
caddy 的配置文件为
{
  "admin": {
    "disabled": true
  },
  "logging": {
    "sink": {
      "writer": {
        "output": "discard"
      }
    },
    "logs": {
      "default": {
        "writer": {
          "output": "discard"
        }
      }
    }
  },
  "apps": {
    "http": {
      "servers": {
        "srv0": {
          "listen": [
            ":443"
          ],
          "routes": [
            {
              "handle": [
                {
                  "handler": "subroute",
                  "routes": [
                    {
                      "handle": [
                        {
                          "auth_credentials":["Caddy_username_and_password"],
                          "handler": "forward_proxy",
                          "hide_ip": true,
                          "hide_via": true,
                          "probe_resistance": {}
                        }
                      ]
                    },
                    {
                      "match": [
                        {
                          "host": [
                            "mail.rultr.com"
                          ]
                        }
                      ],
                      "handle": [
                        {
                        "handler":"reverse_proxy",
                        "upstreams":[{"dial":"127.0.0.1:8080"}]
                        }
                      ],
                      "terminal": true
                    }
                  ]
                }
              ]
            }
          ],
          "tls_connection_policies": [
            {
              "match": {
                "sni": [
                  "mail.rultr.com"
                ]
              }
            }
          ],
          "automatic_https": {
            "disable": true
          }
        }
      }
    },
    "tls": {
      "certificates": {
        "load_files": [
          {
            "certificate": "/etc/letsencrypt/live/mail.rultr.com/fullchain.pem",
            "key": "/etc/letsencrypt/live/mail.rultr.com/privkey.pem"
          }
        ]
      }
    }
  }
}
此处应用为较高级的应用,希望大家多多尝试,一定会收到意想不到的效果哦。