软件库(简称为repo)是一个软件包文件的中心存储区,用户可以通过该软件库更新自己的系统软件。
软件库通常部署在网络服务器上例如互联网,可以服务众多用户。当然,我们也可以部署一个本地软件库,为局域网中的特定用户提供软件更新服务。
本地软件库一个好处就是在没有互联网接入的情况下依然可以更新软件包。
YUM(Yellowdog Updater Modified)是一个广泛使用的RPM(RedHat Package Manager)软件包管理工具,可以在Red Hat/CentOS Linux发行版中方便的安装和卸载软件。
方便起见,我们创建如下测试环境用于演示本地软件库:
Yum HTTP Repository Server:	CentOS 7 [172.16.200.1]
Client Machine:		CentOS 7 [172.16.200.100]
1] 软件库服务器安装Nginx
1. 首先使用如下命令在软件库服务器使用yum命令安装EPEL软件库的nginx HTTP服务器:
# yum install epel-release
# yum install nginx
2. Nginx安装成功后,可以使用如下命令启动服务器并将nginx设置为开机自启动:
# systemctl start nginx
# systemctl enable nginx
# systemctl status nginx
3. 之后,需要使用如下命令打开80和443端口,允许HTTP和HTTPS的入流量:
# firewall-cmd --zone=public --permanent --add-service=http
# firewall-cmd --zone=public --permanent --add-service=https
# firewall-cmd --reload
4. 最后,使用浏览器访问软件库服务器,验证Nginx服务器一切工作正常:
http://SERVER_DOMAIN_NAME_OR_IP
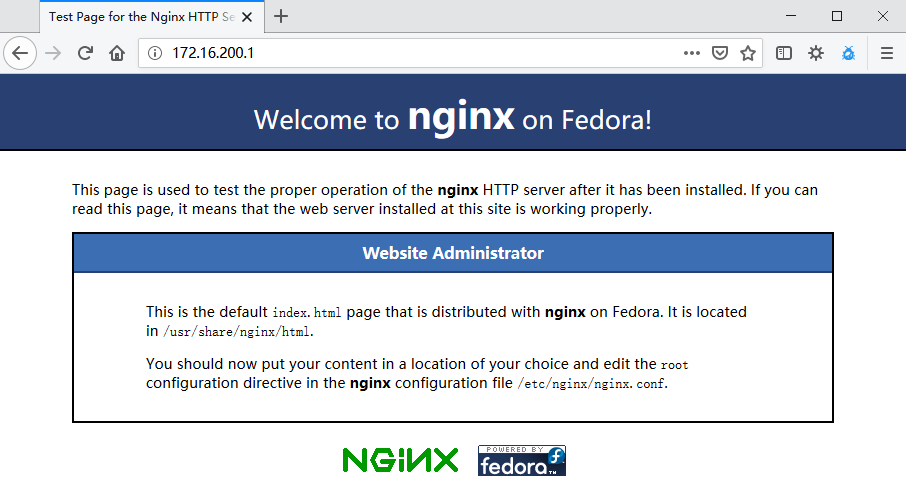
图.1 EPEL Nginx默认启动页
2] 创建yum软件库
5. 在本步骤,我们需要先安装创建、配置和管理本地软件库的依赖包:
# yum install createrepo yum-utils
6. 然后,使用如下命令创建软件库的必须目录,用于存储软件包及其相关信息:
# mkdir -p /var/www/html/repos/{base,centosplus,extras,updates}
7. 使用reposync工具将远端YUM软件库的文件下载到本地软件库,命令如下:
# reposync -g -l -d -m --repoid=base --newest-only --download-metadata --download_path=/var/www/html/repos/
# reposync -g -l -d -m --repoid=centosplus --newest-only --download-metadata --download_path=/var/www/html/repos/
# reposync -g -l -d -m --repoid=extras --newest-only --download-metadata --download_path=/var/www/html/repos/
# reposync -g -l -d -m --repoid=updates --newest-only --download-metadata --download_path=/var/www/html/repos/
典型输出如下:
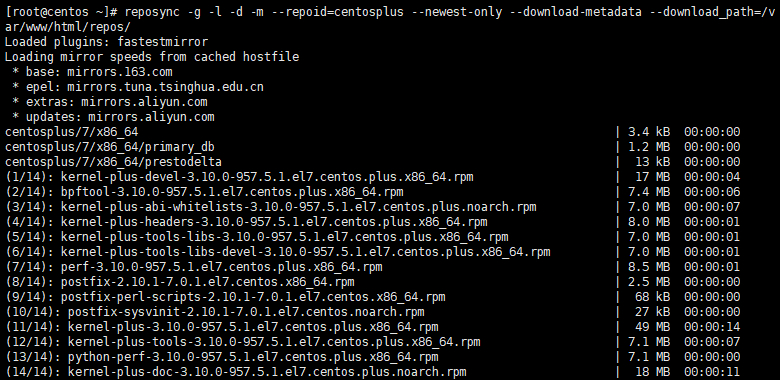
图.2 将YUM软件库软件下载到本地
reposyny命令的参数说明如下:
- -g:允许自动删除下载后GPG签名校验失败的软件包
- -l :允许yum 插件支持
- -d :允许删除软件库中已经不存的本地软件包
- -m :允许下载 comps.xml文件
- –repoid:使用软件库ID进行分类
- –newest-only:设置reposync工具只下载软件库中的最新版软件包
- –download-metadata:允许下载全部非默认的元数据
- –download_path:设置下载软件包存储的本地软件库存储位置
8. 使用如下命令检查本地目录中的内容,验证软件包是否已经同步到本地:
# ls -l /var/www/html/repos/base/
# ls -l /var/www/html/repos/base/Packages/
# ls -l /var/www/html/repos/centosplus/
# ls -l /var/www/html/repos/centosplus/Packages/
# ls -l /var/www/html/repos/extras/
# ls -l /var/www/html/repos/extras/Packages/
# ls -l /var/www/html/repos/updates/
# ls -l /var/www/html/repos/updates/Packages/
9. 使用createrepo命令创建本地软件库,”-g”参数用于更新软件库的特定”.xml”文件:
# createrepo -g comps.xml /var/www/html/repos/base/
# createrepo -g comps.xml /var/www/html/repos/centosplus/
# createrepo -g comps.xml /var/www/html/repos/extras/
# createrepo -g comps.xml /var/www/html/repos/updates/
10. 为了能够通过浏览器查看软件库的文件,修改nginx配置文件server块的内容如下:
root   /var/www/html/repos;
location / {
            index  index.php index.html index.htm;
            autoindex on;	#enable listing of directory index
        }
11. 重新启动nginx服务后,通过浏览器就可以查看软件库的文件了。
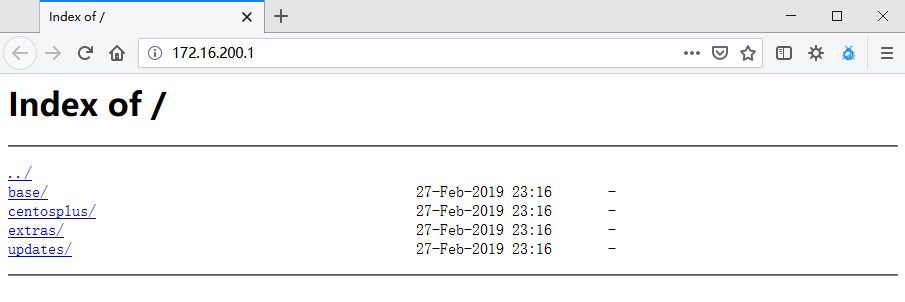
图.3 浏览本地软件库
3] 创建自动同步软件库定时任务(非必要)
12. 接下来的工作可以创建一个系统定时任务,用于自动将官方软件库的软件同步到本地软件库。当然,如果只是单单创建一个软件库,本步骤可以省略。首先创建一个同步软件库的脚本”/etc/cron.daily/update-localrepos”,将如下内容添加到脚本中:
#!/bin/bash
##specify all local repositories in a single variable
LOCAL_REPOS=”base centosplus extras updates”
##a loop to update repos one at a time
for REPO in ${LOCAL_REPOS}; do
reposync -g -l -d -m --repoid=$REPO --newest-only --download-metadata --download_path=/var/www/html/repos/
createrepo -g comps.xml /var/www/html/repos/$REPO/
done
保存脚本,并用如下命令赋予脚本可执行权限:
# chmod 755 /etc/cron.daily/update-localrepos
4] 配置客户端主机使用本地软件库
13. 最后,修改客户机的YUM库文件,添加一个本地软件库文件”/etc/yum.repos.d/local-repos.repo”,将如下内容添加到文件中,当然,软件库的url是根据实际情况自行修改的,本例为”http://172.16.200.1″:
[local-base]
name=CentOS Base
baseurl=http://172.16.200.1/base/
gpgcheck=0
enabled=1

[local-centosplus]
name=CentOS CentOSPlus
baseurl=http://172.16.200.1/centosplus/
gpgcheck=0
enabled=1

[local-extras]
name=CentOS Extras
baseurl=http://172.16.200.1/extras/
gpgcheck=0
enabled=1

[local-updates]
name=CentOS Updates
baseurl=http://172.16.200.1/updates/
gpgcheck=0
enabled=1
保存文件后,就将本地软件库添加到客户机的软件库列表中。
14. 最后,执行如下命令,验证本地软件库已经在客户机生效:
#  yum repolist
OR
# yum repolist all
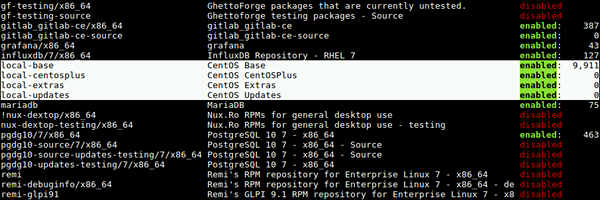
图.4 验证本地软件库
可以看到,在客户机上,本地软件库已经生效了。
以上就是创建和配置本地软件库的全部内容,希望对大家有所帮助。